黑暗森林
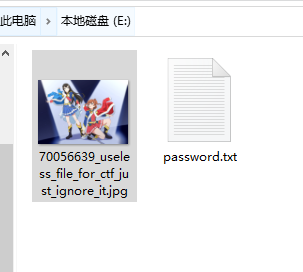
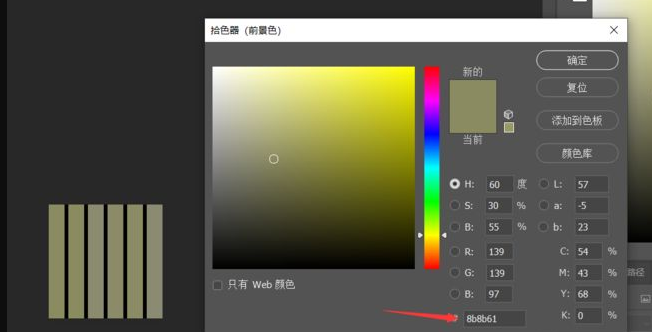
通常bmp文件word bfreserved1和2值为0
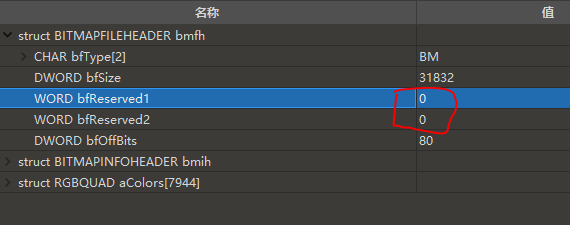
但是这题给的图值存在
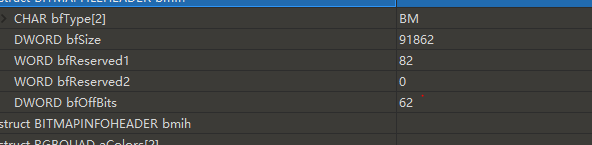
所以应该是需要根据这个bfReserved1 的值 找到值为1的图读取内容放在第一位
值为2的图读取内容放在第二位以此类推
跑脚本
1 | import os |
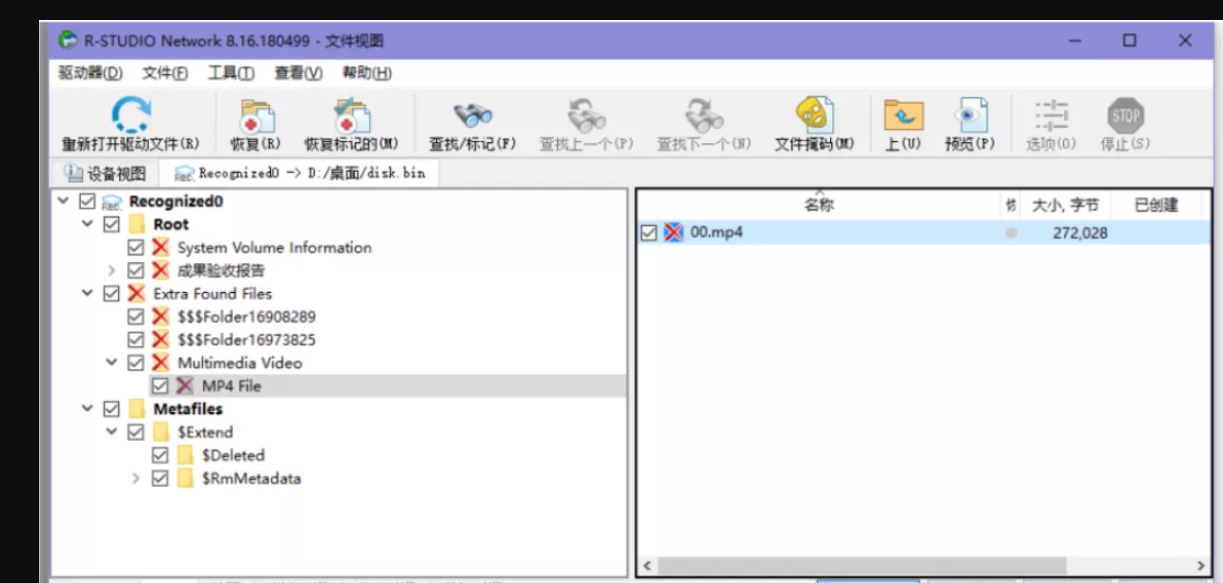
生成文件

是个rar压缩包 文件有问题
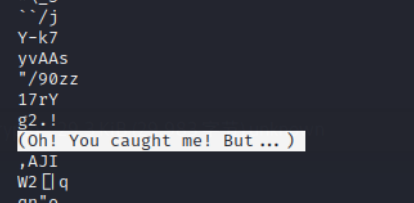
broadcast.png 是apng格式的文件用网站分离一下
得到这样的
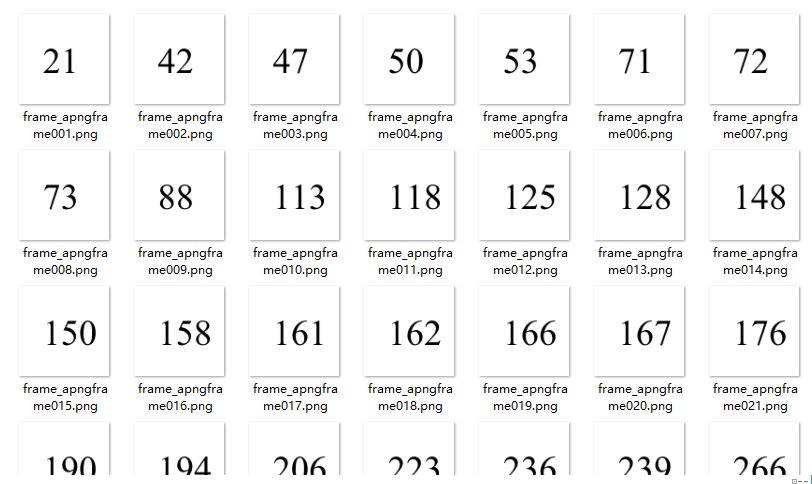
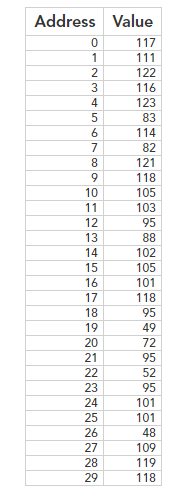
每张图都有数字应该是要把rar中对应字节的数据删除
1 | table = [21,42,47,50,53,71,72,73,88,113,118,125,128,148,150,158,161,162,166,167,176,190,194,206,223,236,239,266,269,270,274,289,290,302,305,308,316,318,326,328,329,360,375,392,395,414,425,443,450,463,469,471,477,487,494,498,514,519,522,523,527,531,540,555,561,574,589,627,629,636,637,654,668,673,689,690,704,736,751,752,753,763,765,769,774,780,801,814,817,858,870,899,915,928,934,948,951,964,967,982] |
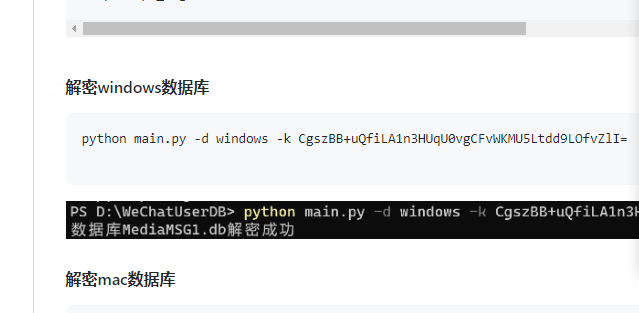
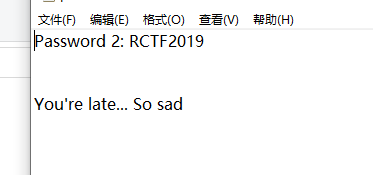
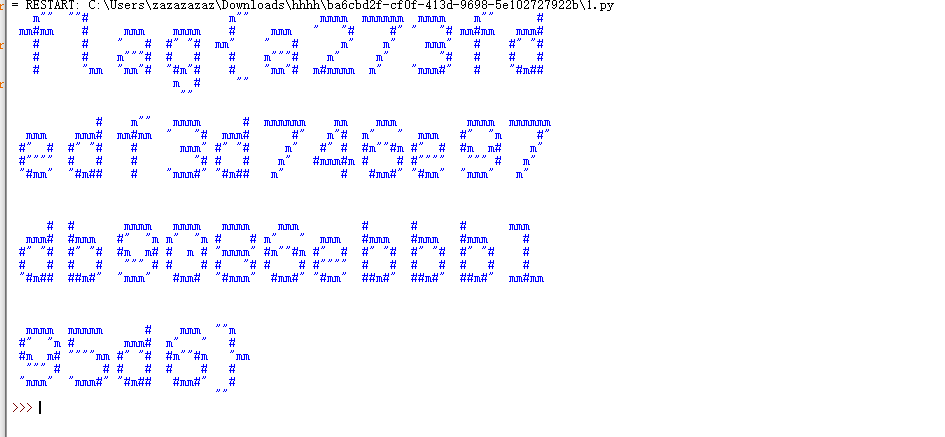
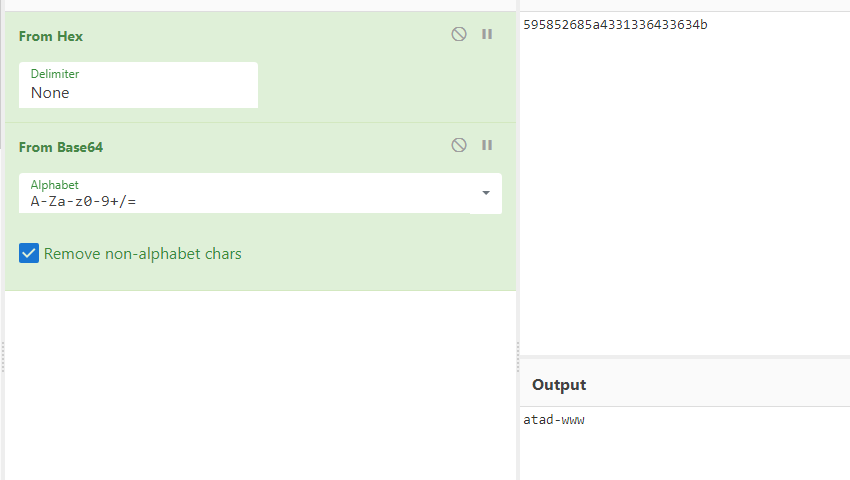
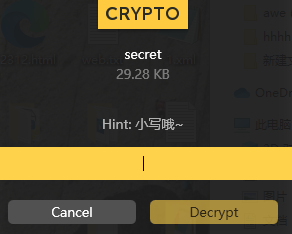
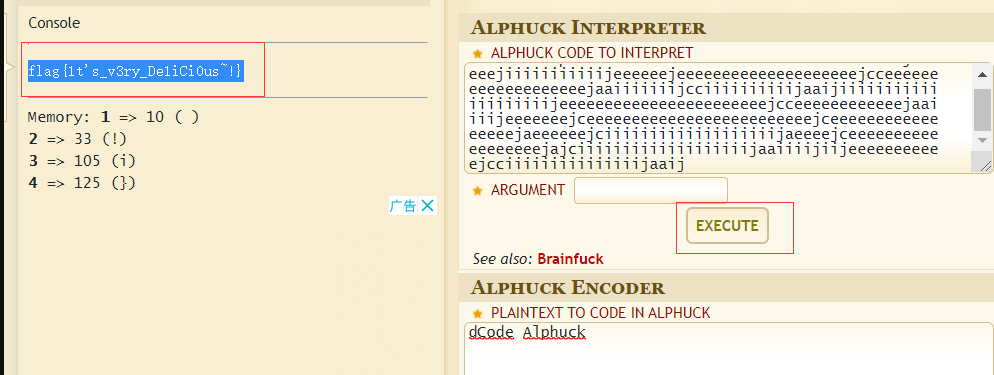
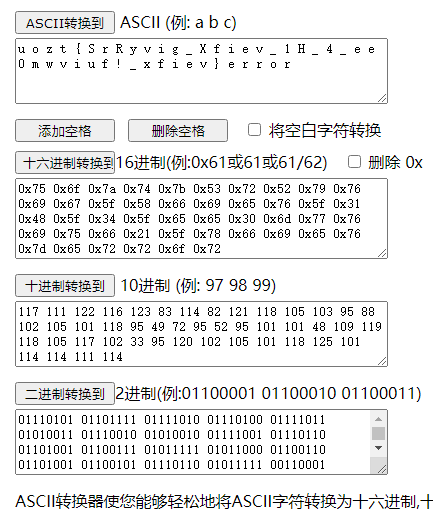
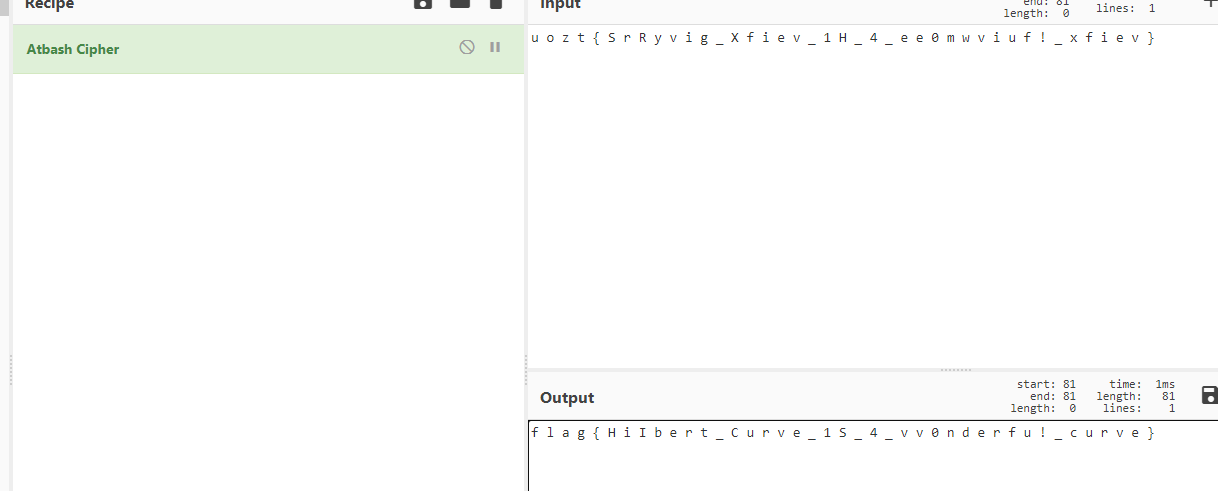
得到压缩包密码提示
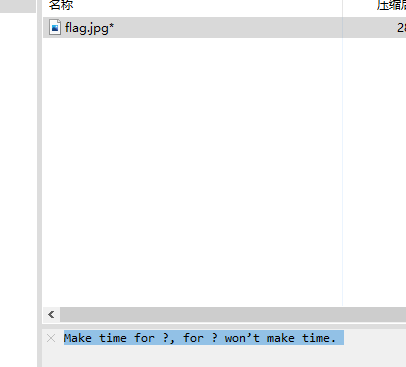
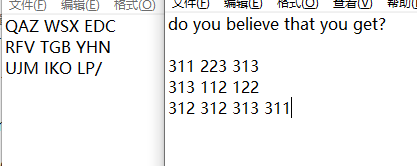
bing搜一下
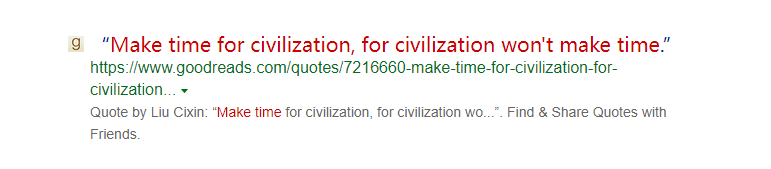
弱雪
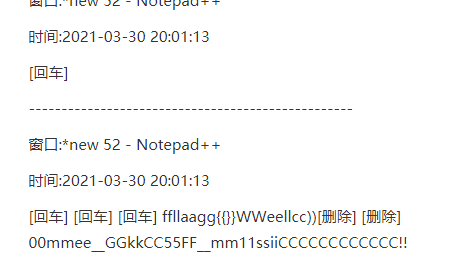
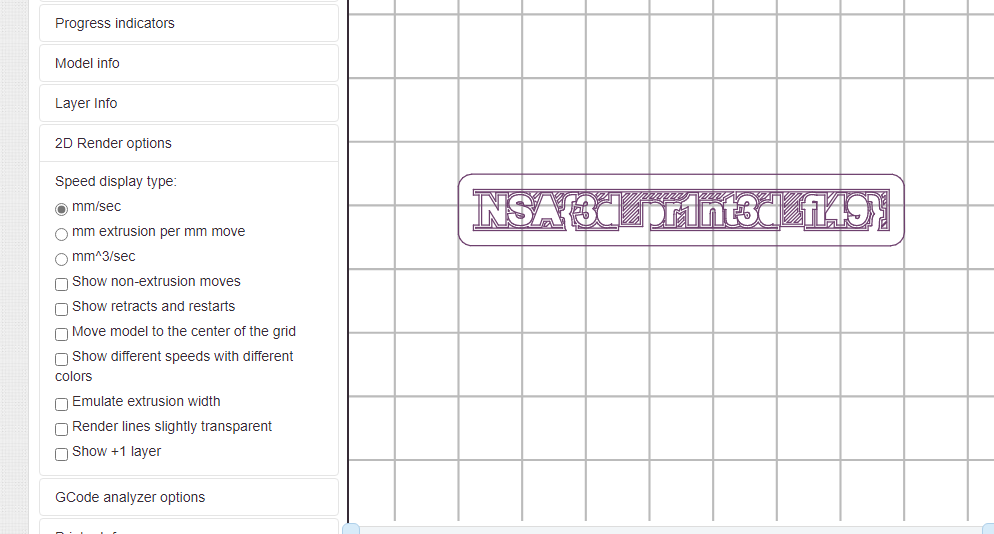
从题目雪应该是有snow隐写但每个文档都没有snow隐写的感觉
看每个文件的时间不太对劲
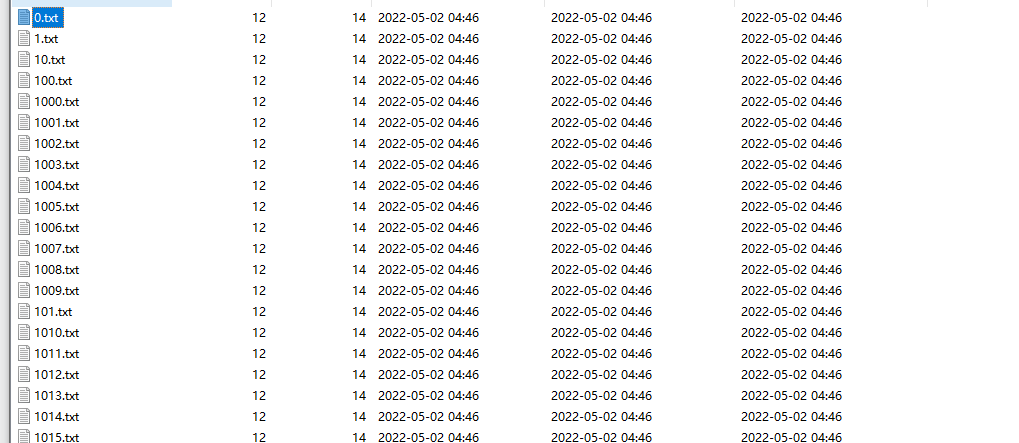
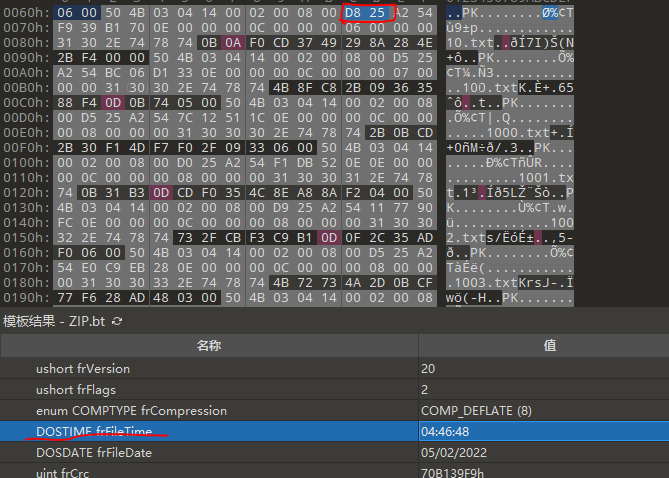
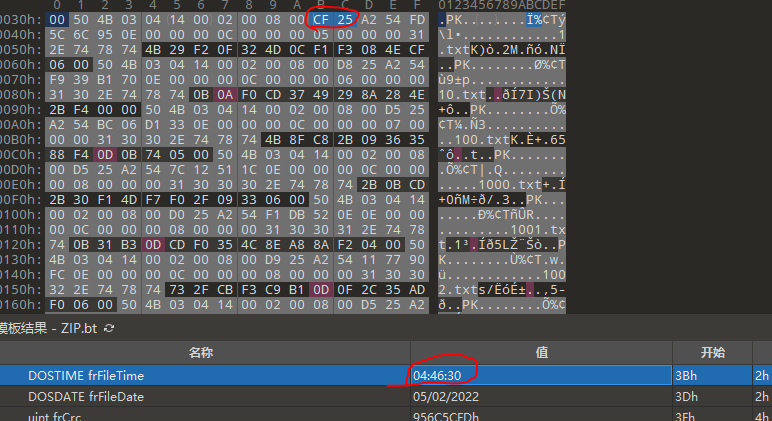
没有时间为40的文件
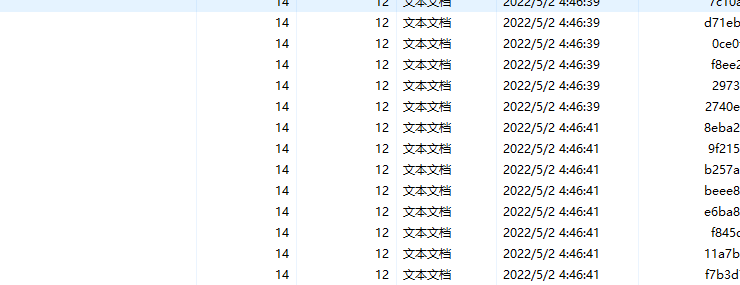

写脚本大于40的作为0小于的作为1
1 | import os |
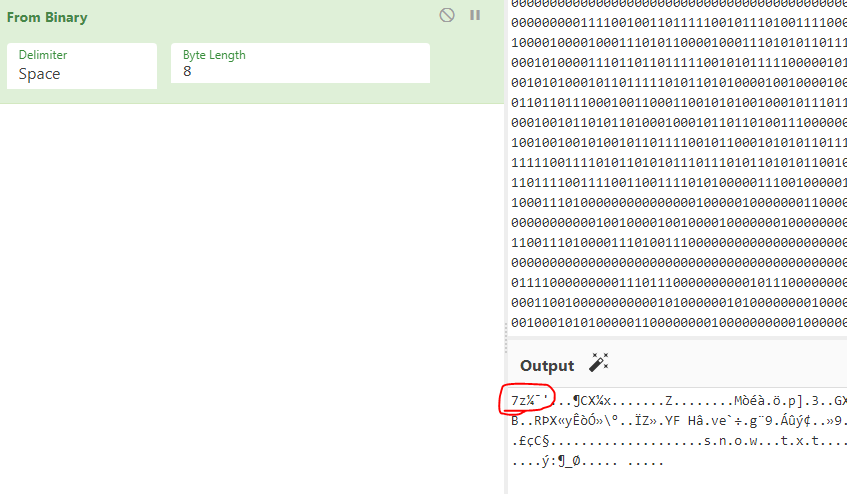
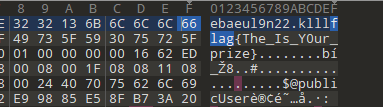
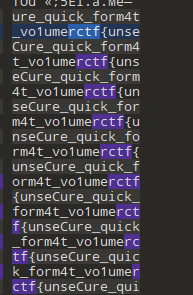
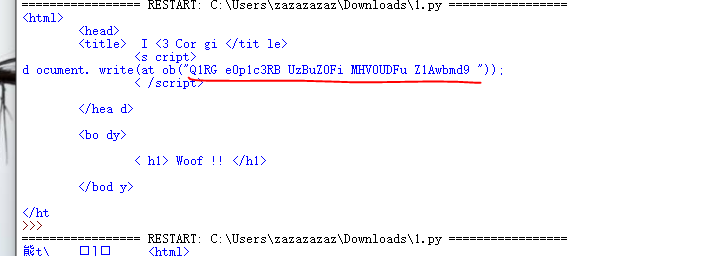
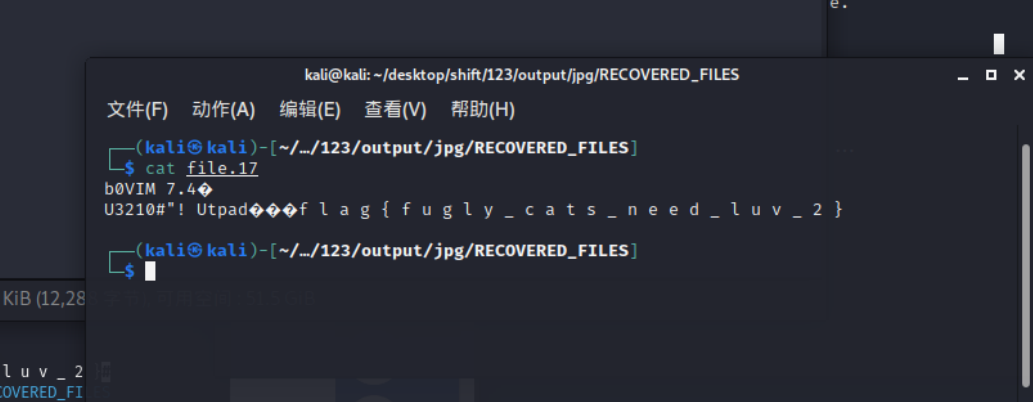
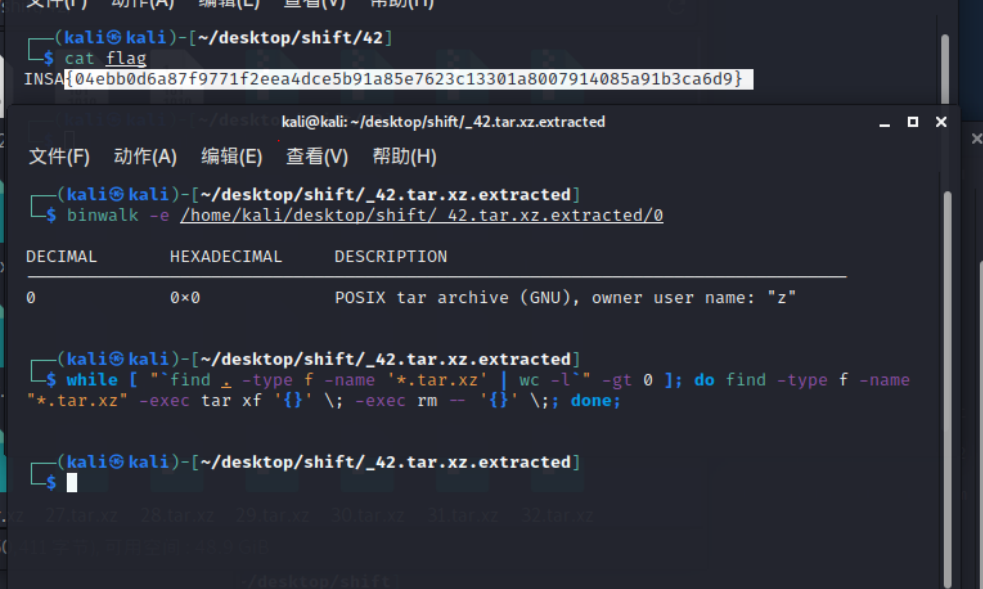
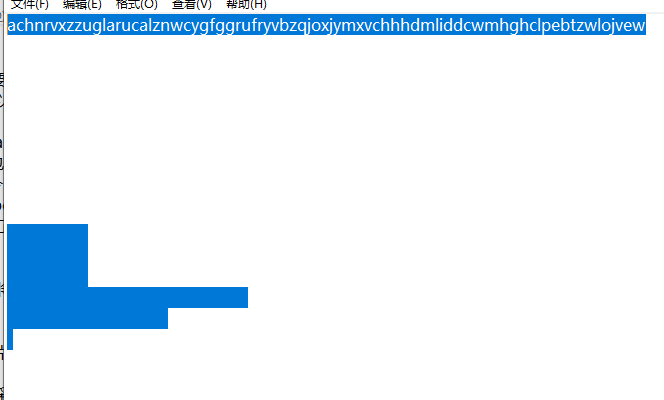
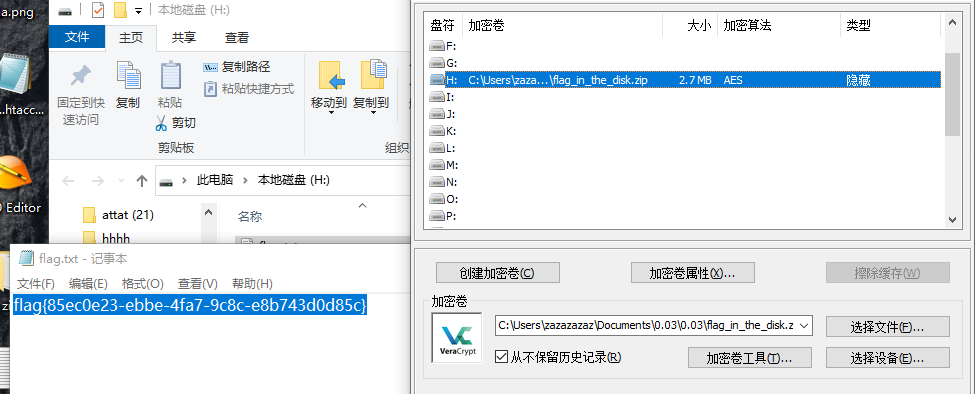
解压缩得到
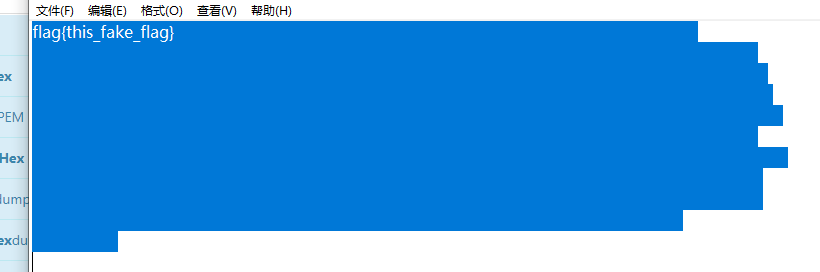
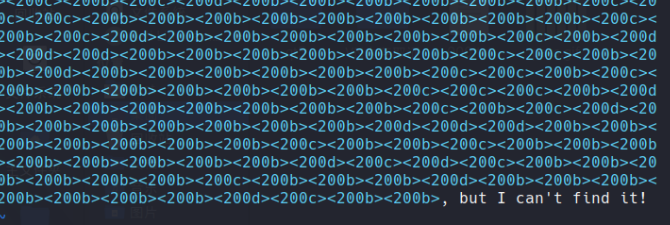
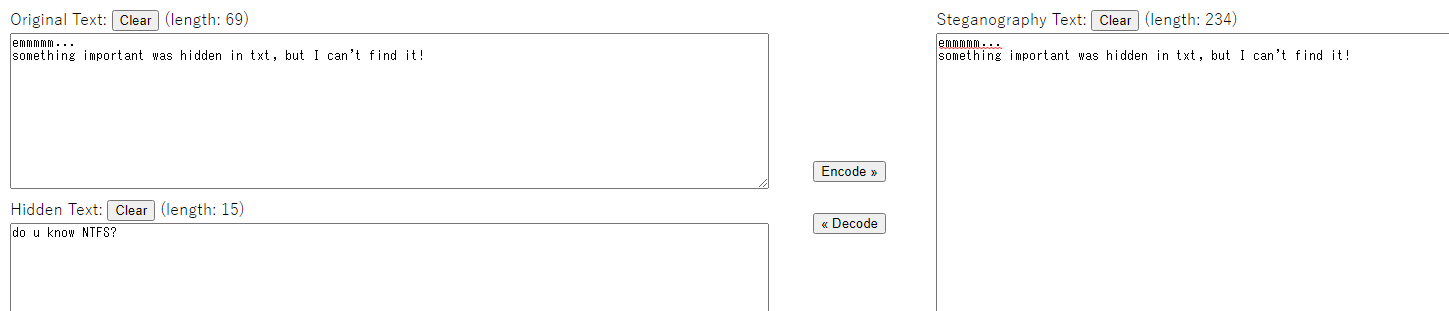
snow 隐写
1 | import os |